Showing posts with label Baby Food. Show all posts

Thursday, March 13, 2014

Baby Lead Weaning

When Addie was a baby, I loved making her baby food.  I'd find some fresh fruit and veggies, cook them up and then puree them.  It didn't take me much time and it was cheap.  I enjoyed it a lot knowing I was still making all her food.  At Graham's last pediatrician visit at 4 months, the pediatrician gave the green light to begin introducing foods.  Since Addie was born, the though process on food introduction to babies had changed.  Introduce between 4-6 months and don't limit what they can/cannot eat.  The only food off limits was honey until age one.  So I began making purees, sweet potatoes, carrots, peas, green beans, etc.  But Graham wasn't a fan.  We kept at it.  Sometimes he'd eat it with no issues and others he'd fuss and cry and refuse.  So I introduced the mesh feeder.


Graham is a huge fan of putting his fingers and toys in his mouth to chew on so I thought, maybe he'll enjoy this.  I put a soft banana in the feeder and let him go at it.  He liked it. Then I started thinking, what about baby lead weaning.  I had read about it when Addie was a baby but because we really didn't have issues with purees, I didn't introduce the idea until she was much older (and had teeth).


Basically, you fully cook or offer foods that are very soft and let the baby eat at their own pace.  It also helps to develop the skill of taking a hand, grasping with a fist and bringing the food to the mouth.  Lots of brain development.  


I have to admit, I was nervous trying this out because I wasn't sure how he'd react.  I was nervous about the potential for him to choke.  Graham did really well, he completely gets bringing the food to his mouth and opening his mouth to eat it.  He did get frustrated a few times when he couldn't figure out how to get the food in easily.


We started with toasted bread which he seemed to enjoy and will be trying strawberries tonight.  He did gag a few times which nearly stopped my heart but I know he's learning.  I'm really excited to continue down this path as there was no crying and he gets it.  

Have you tried baby lead weaning?  Success?  What foods did you try and how did you prepare them?

-stephanie

It's important to know when trying baby lead weaning, you must be present watching your baby the entire time.  Never leave your baby around food if you will not be watching.


Thursday, February 6, 2014

Graham's First Taste of Food

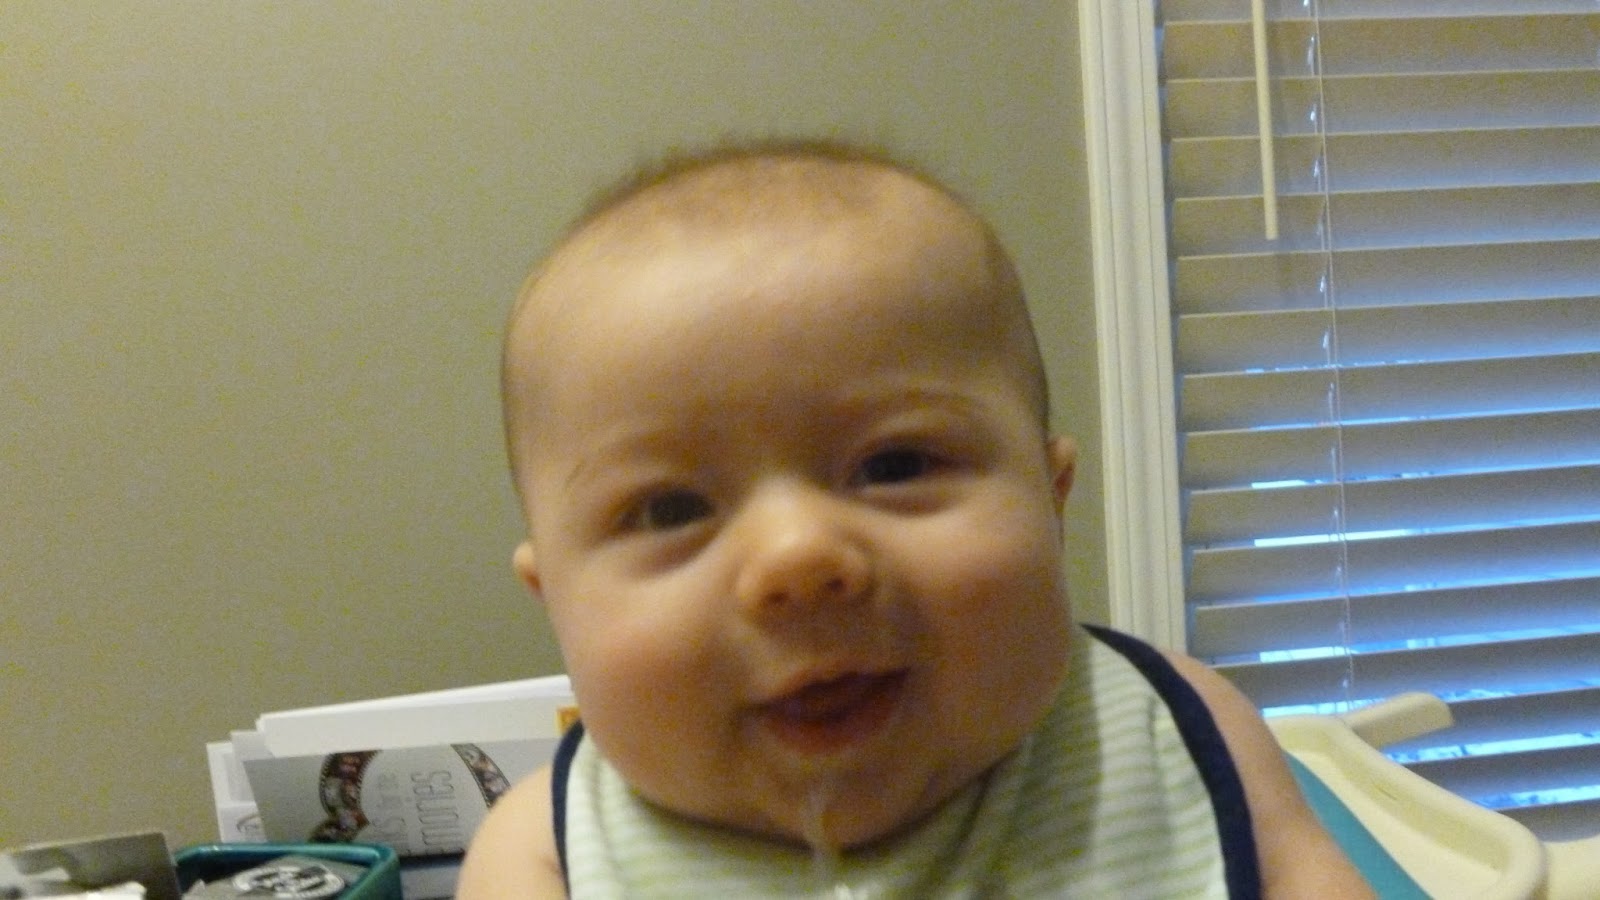
This boy and his rolls.  We decided to introduce rice cereal to Graham at 4 months since he was having some trouble sleeping and he's been spitting up.  We thought it might help him in both areas and he's been eyeing our food like crazy so we thought he might be ready to try.


I wasn't expecting much since he's young and still trying to learn how to swallow solid foods.


He liked biting the spoon more than anything.  He's not a fan of cereal so I'm thinking we'll try to switch him to oatmeal soon.


You can't tell he doesn't like it with this face.


My heart melts every time I look at this face.

-stephanie

Tuesday, August 28, 2012

Addie's Favorite Fall Snack

This is a repost of previous post from September of last year, I can't believe we're less than a week away from September again this year.  It's one of my favorite months as it signifies the start of fall for me.  Apple picking, gorgeous weather, Ohio State football, Pumpkin Spiced Latte's from Starbucks, etc.  It's one of the best times of the year hands down for me.  As I mentioned, one of our favorite things to do in September is go apple picking.  You can read about last years posts and another apple recipe I included here (check out her hair!). Today's post is specifically about Addie's favorite fall snack, Applesauce!


Applesauce
4 apples, peeled, cored and diced
Cinnamon to your preference

Toss diced apples into crock-pot.  Add desired cinnamon and cook for 2 hours on high in crock-pot.  Stir periodically.

The recipe is really that easy.  When you purchase an apple with amazing flavor, you don't need to add sugar or any other ingredients because the flavor in the apple stands out by itself.  This is also really great for little ones who are just starting to eat solids!  I packaged some of the apple sauce up last year in old baby food jars we had lying around.

What are some of your little ones favorite recipes?  I'm always looking for a new recipe/food to introduce to Addie.  Come tell us about it at Toddle Alone Tuesday.

-stephanie

Thursday, September 22, 2011

Apple Picking & Recipe Bonus

You’ll remember from this post how much we love our local fruit farm. They have several ‘U-Pick’ opportunities throughout the year (apples, pears, blackberries, pumpkins, etc) so when I receive the newsletter from the farm letting me know several apple varieties were ready to be harvested I told Rick we were making a trip.
Addie's ready to go
We packed up Addie and the Ergo, picked up Rick’s brother Joey and his fiancĂ© Loralei and headed out to the farm. This weekend Jonathan and McIntosh apples were ready to pick. We each grabbed our bags and headed down the orchards rows to complete our mission, find the biggest apple we could find. I strapped Addie on me in the Ergo and the two of us lugged around together at our own pace.
Orchard Alley

Rick looking for the largest apple

Addie & me


We walked away with 20 pounds worth of apples.


We went home after a trip to the Farmers Market and I immediately whipped together an apple crisp for a party later that evening.  Also, because I wanted to make sure Addie had the opportunity to taste the yummy apples, I decided to make some applesauce that is both parent and kid friendly (no sugar added).  I've included both recipes for you to try out and, as always, both are so simple to make.

Apple Crisp (Too excited to snap a pic) 
6 cups apples sliced thin
1/3 cup sugar
1 tsp cinnamon
1/2 tsp salt
2 Tbsp butter, melted

Crisp Ingredients
3/4 c sugar
1/2 c flour
1/3 cup butter, softened

Preheat oven to 375 degrees.  Combine first set of ingredients and pour into a greased 8" pan/baking dish.   In a mixing bowl, stir second set of ingredients until crumbly.  Pour over apple mixture and bake for 45 minutes.  Note:  If you have really juicy apples you may want to add a couple tablespoons of flour to the apple mixture.


Applesauce
4 apples, peeled, cored and diced
Cinnamon to your preference

Toss diced apples into crock-pot.  Add desired cinnamon and cook for 2 hours on high in crock-pot.  Stir periodically.

I hope you enjoyed our experience and I hope you all go apple picking at least once.  It might just become a tradition and an opportunity to bake!

Don't forget about our giveaway.

Tuesday, August 30, 2011

Easiest Baby Food to Make Yourself – Pumpkin


One of the items we picked up at our recent Farmers Market trip was a pie pumpkin.  These pumpkins are meant for eating whereas the others are meant for carving!  As soon as I spotted the little guy I knew I want him for Adalyn.   


She’s yet to eat pumpkin and I was in such the autumn mood.  So when we got home I began my preparation.  Here’s how you make your own pumpkin baby food:

Step 1:  Cut top off of pumpkin. Just like you do at Halloween.
Step 2:  Cut the pumpkin in half.  Remove the seeds and guts.  (note: if you like pumpkin seeds this is where you would save those seeds for roasting)
Step 3:  Cut the halves into strips about 3 inches wide.  Place them face down in a pan.
Step 4:  Fill the pan about an inch full of water.
Step 5:  Bake in 400 degree oven for about 40 minutes.
Step 6:  Remove from oven and allow to cool slightly. 
Step 7:  Use a pair of rubber tongs and pick up each slice over another bowl.  The skin should fall right off the good stuff.  Do this for each piece.
Step 8:  Use a spoon to mix around in the bowl.  I didn’t need to use any of the water left in the roasting pan because the pumpkin had enough but you could always add this to yours.


 At this point it’s ready for baby to eat.  Since Adalyn has had cinnamon and seems to enjoy it, I added a good amount to the mix.  You can freeze or refrigerate the mix and you can use for yourself for cooking or baking.  The pumpkin cost me $2 and I was able to make over 30 ounces of pumpkin so on top of being very easy to make it’s also incredibly inexpensive.  Don’t be intimidated!  

I used some of the leftover for my knock off version of Starbucks’ Pumpkin Spiced Latte.  I cannot wait for Autumn!

Monday, July 11, 2011

Weekend Wham-o

Yes, today is Monday and an ugly one to boot!  So let me just jump right into how our weekend shook down.

Friday night - after putting Addie down for the night Rick and I had a glass of wine and then we, too, called it a night.  Having a baby tends to make you a morning bird.

Saturday - we went to a local nursery for some new plants.  Our beds were looking awful and we needed a lot of new plants.  Luckily the nursery was have a 50% off sale on just about everything in the store.  We ended up with a rose bush, hostas, hibiscus bushes, red coneflowers, lilies, etc.  I'm so excited for next year to see how they'll do.  After we got home we spent a couple hours laying out the flowers, planting, and mulching.  Why we waited until mid July when it's 95 degrees out, I don't know.  If you read my post on Saturday you also know that in between planting and mulching I was able to make Addie's next round of baby food.  She experienced carrots.  You can read that here. 

After all that hard work we decided a trip to the pool was in order and Addie was in heaven.  The girl loves water!  We were even able to get a trip into Toys R Us as Fisher Price was having a BOGO free sale on all of their 0-12 month toys. We were able to get Addie's Christmas and birthday shopping done.  Now if I can just wait another 5-6 months for either of those occasions.  We did give her one of the purchases early so she could enjoy it now since it's not something she'll be able to enjoy in December/January.  The girl also loves to swing.


Sunday - we had Addie's 6 month photo shoot.  She turns 6 months next Thursday but I'll be out of town this weekend and thought it would be easiest for us all to do them this past weekend.  Can't wait to see the rest of the shots, but here's a preview for you.


We got a lot done this weekend, which I was incredibly happy to do.  I love marking things off my running list of to-do's around the house.

Check back tomorrow for Toddle Along Tuesday's Blog Hop.

Sunday, July 10, 2011

Addie Eats Carrots

I was at it again.  Between flower shopping and landscaping the front flower beds yesterday, I made Addie carrots.  Honestly, I thought it was going to go over poorly due to the fact that they stunk. Bad!  I hate cooked carrots and, well, Addie is my daughter so I thought she would despise them.  She shocked me though as she loved them.  So this week Addie will be eating carrots.  Research suggests introducing one food at a time until you're certain there's no allergic reaction to that food so we'll give it at least 3 days before any new food is introduce.  Next will either be squash or peas so look forward to that post.  In the meantime, I've provided some steps as well as a picture of Addie's love of carrots!

1 - I bought a bag of frozen baby carrots (how appropriate I know).

2 - Bring a pot of water to a boil and add the carrots.  I was following the directions on the package, however they suggested cooking until soft but not soft enough to puree so I'd boil those babies for at least 10-15 min.  Check periodically with a fork.

3 - Once carrots are soft, DRAIN WATER!  It's very important to note that carrots are one of the foods that contain nitrates when boiling so you don't want to use this water to thin your puree.

4 - Let carrots cool completely then dump into your food processor or blender.  I did the blender again and next time I'd do the food processor.

5 - Add your desired liquid to thin if necessary.

6 - Pour into your ice trays and freeze.

Without further adieu, Addie and her carrots...

Note:  After I had already dumped the carrots into the boiling water I realized I could have roasted these.  Next time I'll roast them!

Friday, July 8, 2011

Millions of Peaches, Peaches for Me (scratch that, for Addie)

I'm not really a green person.  I should be more concerned about recycling and being a much more green person but I never have been.  I recycle if there's a trash can nearby and I don't litter, it's actually a pet peeve of mine.  But I'm not doing anyting proactively to help the ice caps from melting.  So, when I was pregnant with Addie I talked to Rick about cloth diapering.  He was a total no, I wanted to do it if for nothing else that it was a money saver.  He never did get on board with that so I never invested in the diapers (I'd still like to CD by the way).  So when as we approached Addie's 4 month birthday I really started to think about what I wanted to do when she was ready for solids.  The thing is, I really wanted to make her own baby food.  It's really not hard at all and will save you money.  It just takes a little bit of time and preparation.

So, let me start by saying I did take pictures of this process but apparently I'm still a beginner with my Nikon as all the pictures turned out blurry in auto mode (boo!).  However I wanted to give you a step by step guide on how to cook the peaches to make baby food.

1 - set your oven to 400 degrees.  You'll need a pan, some water and your peaches. 

2 - cut the peaches in halves.  You can pit at this time or after cooking whatever your preference.  I waited to pit until after they cooked. 

3 - please the peaches cut side down in your pan.  Fill the pan with about an inch of water.

4 - place the pan of peaches in the oven and cook until the peaches start getting wrinkly and are soft to the touch.

5 - when the peaches are down let them cool (those suckers are hot) and remember the water is now a syrupy consistency so that can burn you.

6 - when the peaches are cool remove the skins and pits if you haven't already.  Save the water from the pan in case you want to thin your puree

7 - toss the peaches in a blender or food processor and blend to desired consistency adding the leftover whatever as desired.

8 - put the puree into freezer trays and freeze!

I have to say this took me a little while only because the peaches took some time to cook.  It was incredibly simple and tastes so good with no additives.  Baking the peaches gives it such a nice sweetness and retains a lot of the flavor and nutrients.  I can't wait to let Addie try these and will post pictures when she has her first peach puree.

Do any of you make your own baby food?  If so, what's your favorite food to make?

LinkWithin

Related Posts Plugin for WordPress, Blogger...